How-ToExtensionsMade with Zelos app 26.0.9 · SDK 0.0.12
Build an extension for your own instrument
Create an agent extension in the app, stream your instrument's readings, run its action, and change the code with a stop and a start.
Contents9 sections
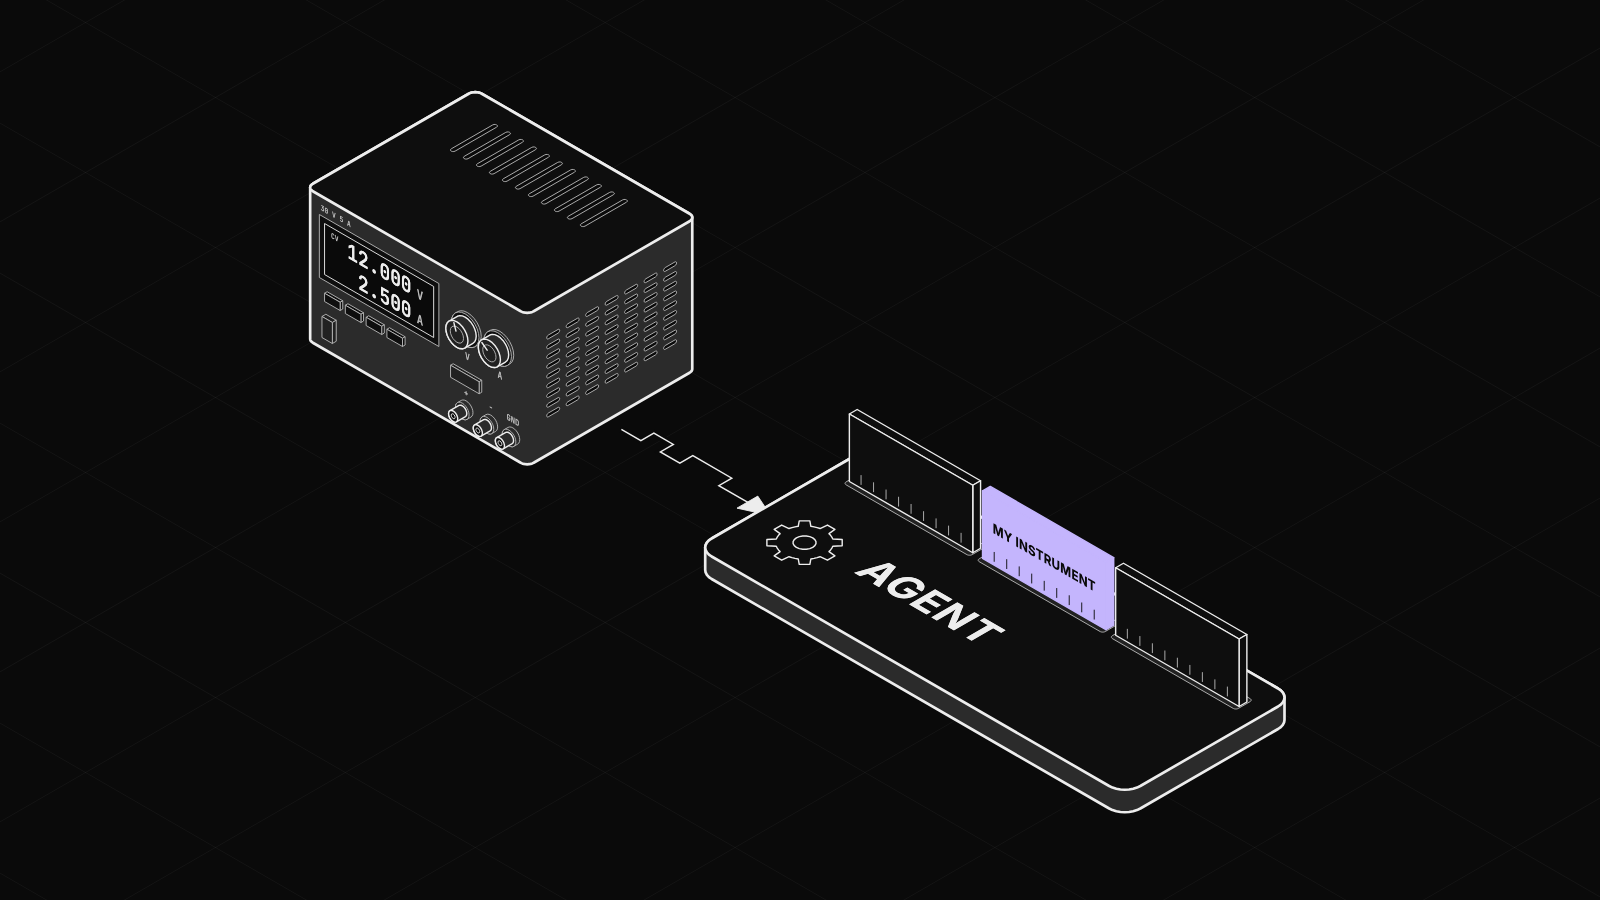
When no extension in the marketplace speaks to your instrument, you can build one. The app creates the project from a template, and this guide uses the Python template. To load a change to the code, you stop the extension and start it again.
An extension is a driver the agent manages
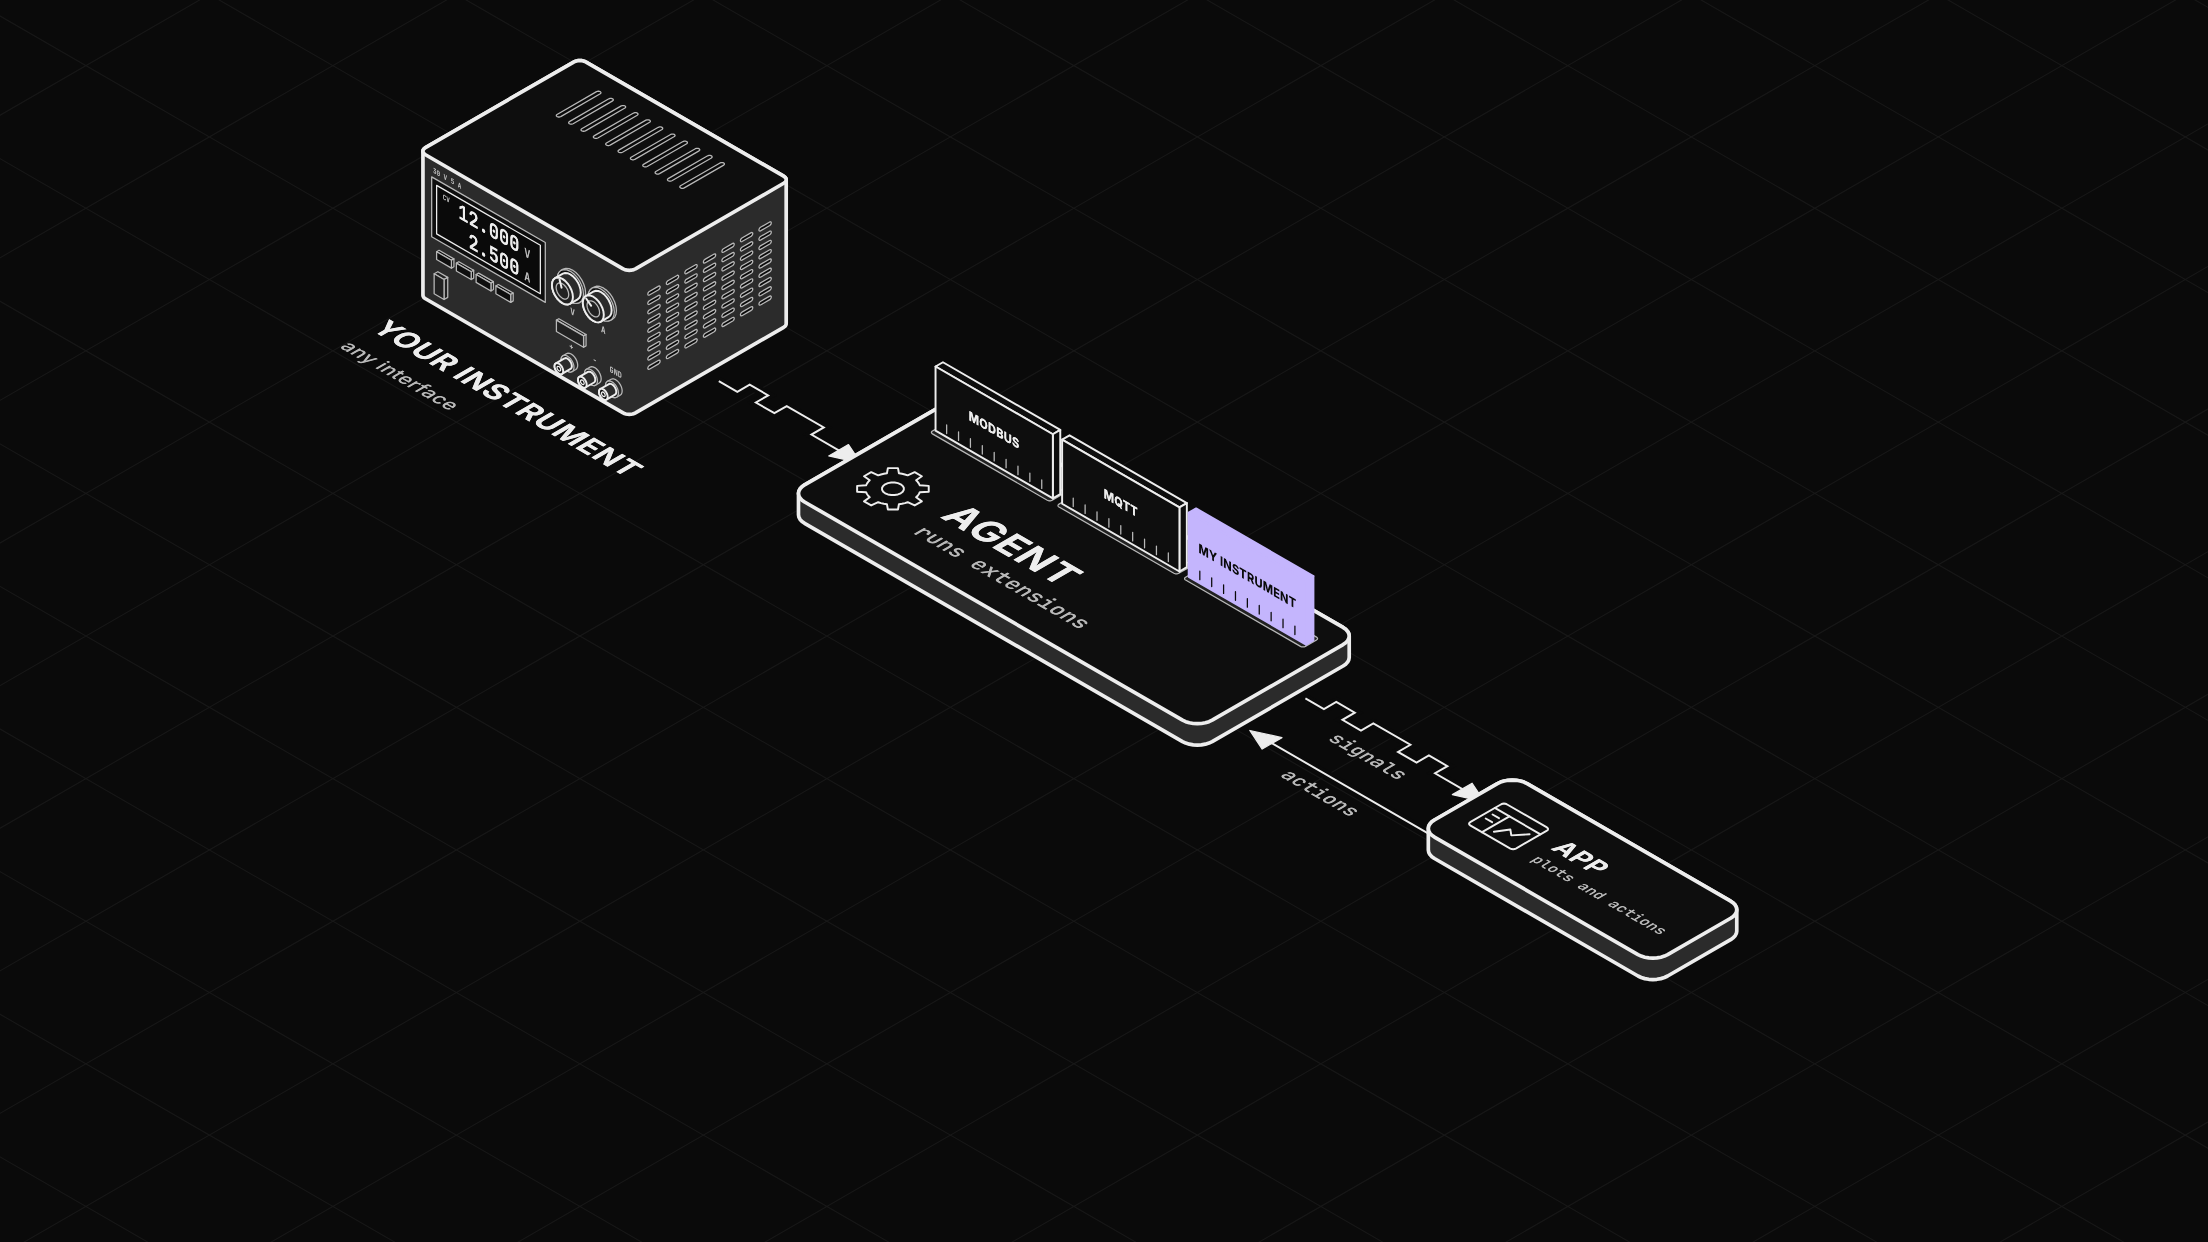
The agent is the program that collects your signals and serves them to the app. An agent extension is a driver or plugin that the agent manages, and it can be written in any language. Your code reads the instrument and logs signals through the SDK. The app shows them in Explorer and calls the extension's actions when you run them.
The marketplace already holds extensions for common interfaces (see Connect your hardware's protocol without writing code).
Before you start
- The Zelos app.
Step 1: Create the project
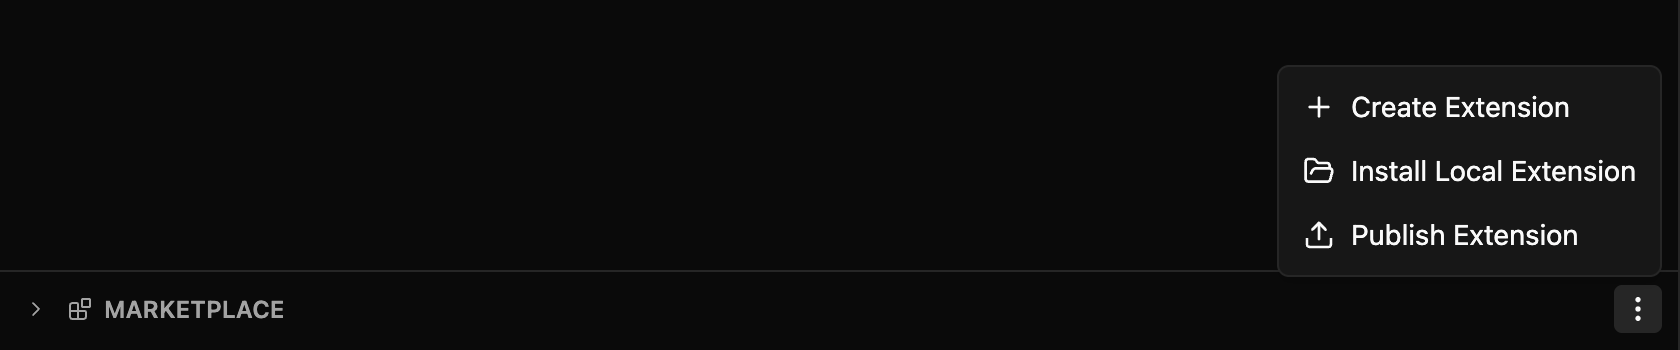
Select Extensions in the left rail. Open the menu on the MARKETPLACE section header and choose Create Extension.
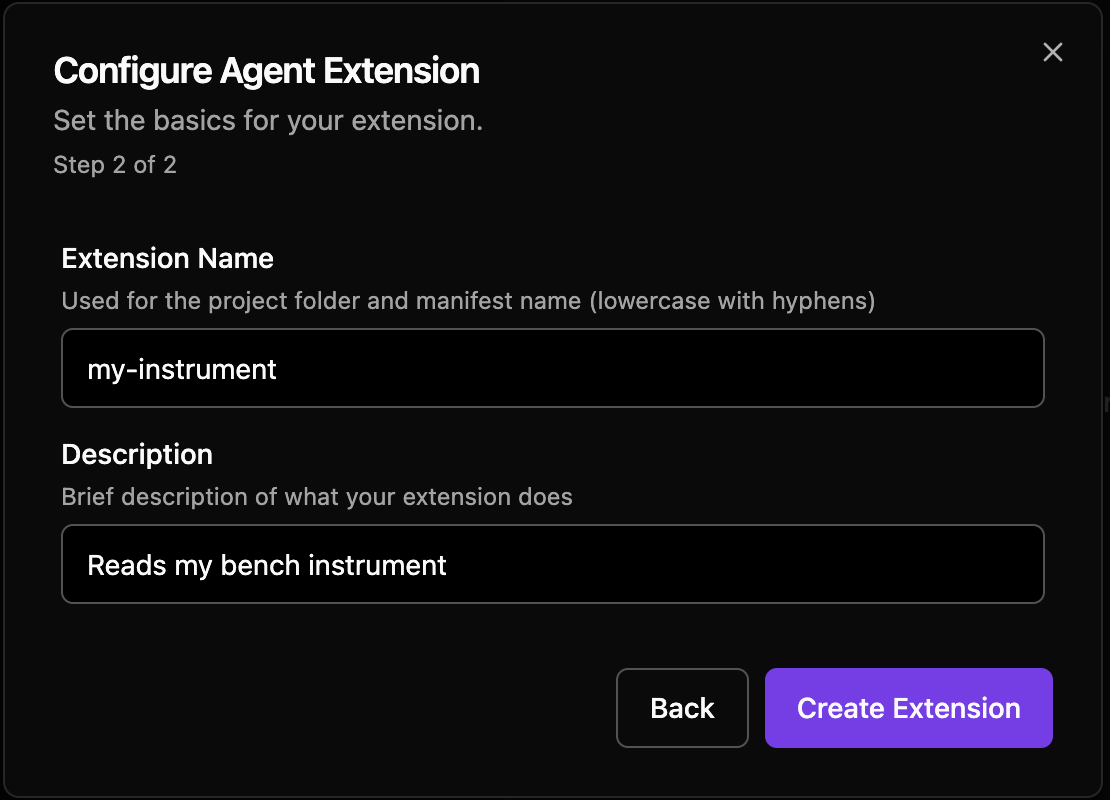
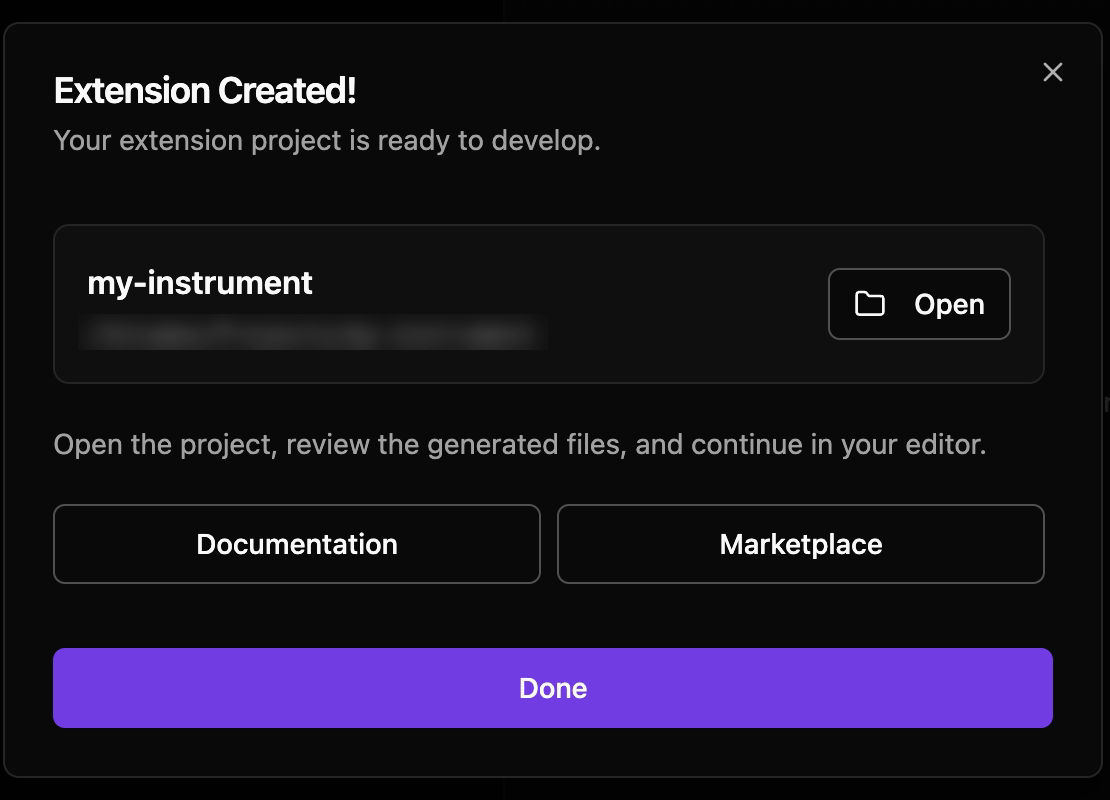
Pick Agent Extension, then Next. Name it my-instrument, add a description, choose Create Extension, and pick a folder. Zelos downloads the agent template, writes the project into <folder>/my-instrument, and installs it on your local agent.
Step 2: Find your code in the template
extension.toml names the project, main.py connects to the agent and registers the actions, and config.schema.json describes the settings form. Your code lives in my_instrument/extension.py.
The template simulates a voltage, a current, a temperature and a pressure at 10 Hz. It declares a power event with two fields and their units, then logs both on every pass of its loop:
self.source = zelos_sdk.TraceSourceCacheLast("my_instrument")

self.source.add_event(
    "power",
    [
        zelos_sdk.TraceEventFieldMetadata("voltage", zelos_sdk.DataType.Float32, "V"),
        zelos_sdk.TraceEventFieldMetadata("current", zelos_sdk.DataType.Float32, "A"),
    ],
)

self.source.power.log(
    voltage=voltage,
    current=current,
)
The four values come from random.uniform in run(). The temperature and pressure go in a second event, environmental, which this guide leaves alone. Your instrument's read call goes there. Stream your own measurements with the SDK covers sources and fields.
Step 3: Start it and plot a signal
Select Explorer in the rail. Under EXTENSIONS, press the green play button on My Instrument. my_instrument appears under SIGNALS. Expand my_instrument, then power, and double-click voltage to plot it.
Step 4: Run its action
One decorator turns a method into an action, and a second describes its input. This is the template's, without its docstring:
@zelos_sdk.action("Set Interval", "Change sample rate")
@zelos_sdk.action.number(
    "seconds",
    minimum=0.001,
    maximum=1.0,
    multiple_of=0.001,
    default=0.1,
    title="Interval (seconds)",
    description="Sample interval from 1kHz to 1Hz",
    widget="range",
)
def set_interval(self, seconds: float) -> dict[str, Any]:
    self.config["interval"] = seconds
    return {"message": f"Interval set to {seconds}s", "interval": seconds}
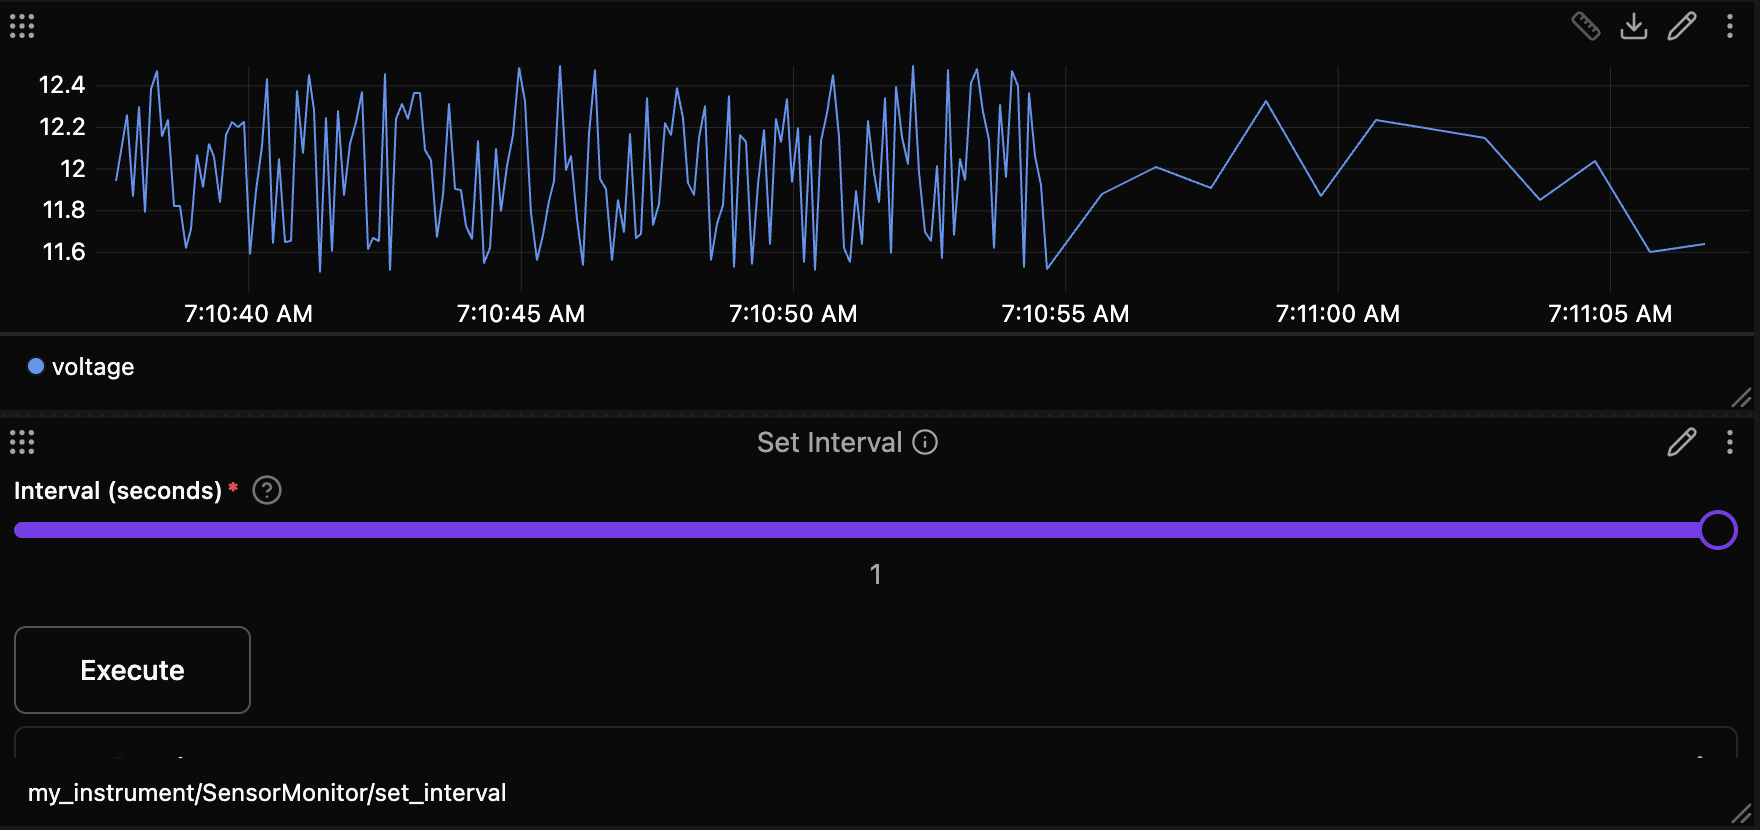
Under ACTIONS, expand my_instrument, then SensorMonitor (the template's class), and double-click set_interval. It opens as a panel titled Set Interval. Slide it to 1 and choose Execute. The plot drops to one point a second. Write your own action in Python covers other inputs.
Step 5: Add a field, then stop and start
Add a watts field and log it with the others:
self.source.add_event(
    "power",
    [
        zelos_sdk.TraceEventFieldMetadata("voltage", zelos_sdk.DataType.Float32, "V"),
        zelos_sdk.TraceEventFieldMetadata("current", zelos_sdk.DataType.Float32, "A"),
        zelos_sdk.TraceEventFieldMetadata("watts", zelos_sdk.DataType.Float32, "W"),
    ],
)

self.source.power.log(
    voltage=voltage,
    current=current,
    watts=voltage * current,
)
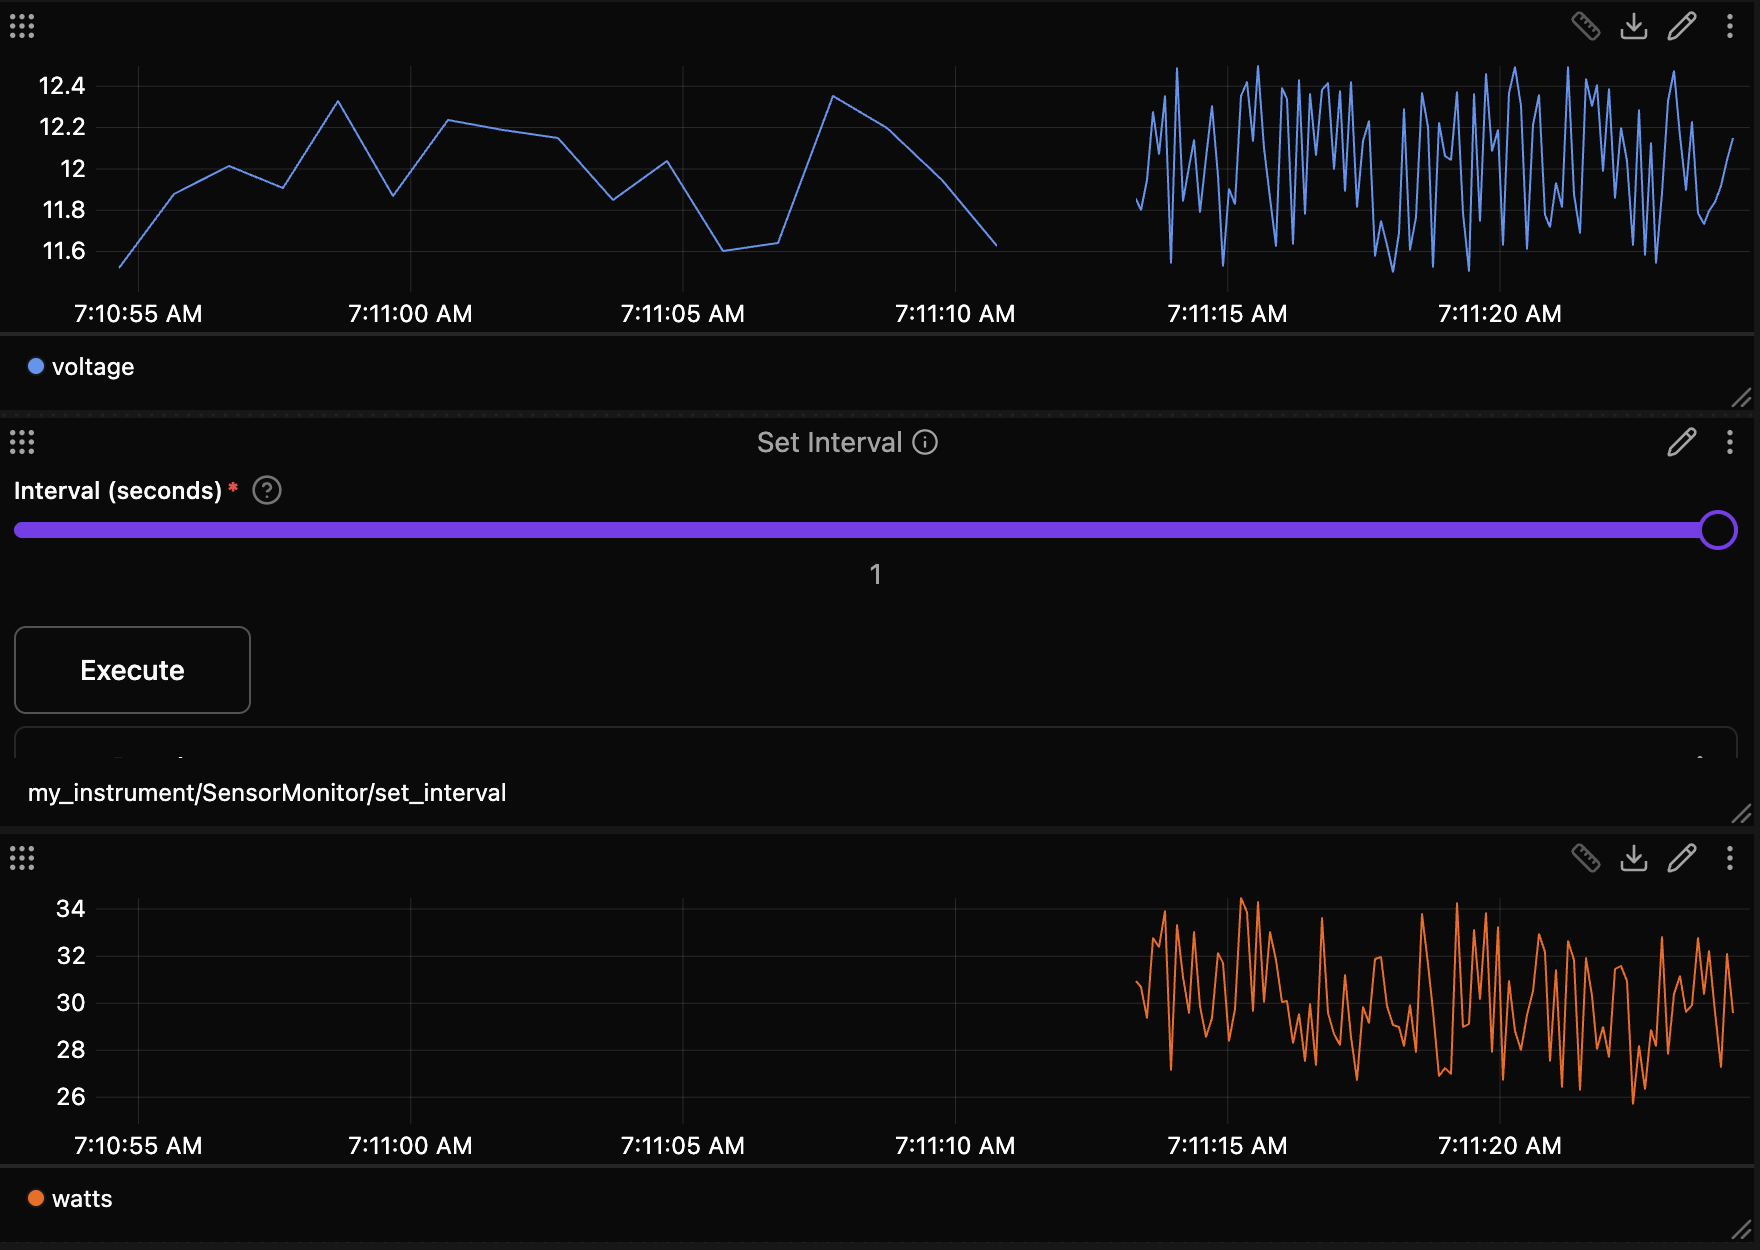
Save, press the red stop button, then play again. The agent runs your code from your project folder, so each start reads the saved file. power.watts appears under SIGNALS.
After you add a dependency to pyproject.toml, stop the extension and choose Reinstall on its page in the Extensions view. For your editor to resolve the imports, run just install in the project folder to build .venv.
Publish it
Make the folder a git repository (git init, then a first commit), push it to GitHub, and run just release <version>. Then choose Publish Extension in the MARKETPLACE menu to submit the repository, which Zelos reviews before listing it (publishing docs).
Point it at your instrument
The finished project from this guide, with the watts field, is in zelos-examples. Set repository in its extension.toml to your own. Replace the four random.uniform lines with your instrument's read calls and press play. The agent extension docs cover the same project from the CLI. To give it a tab in the app, see Build your own tab with live readouts and an action button.